ST205 brake caliper rebuild
Submitted by - two_OH_five
This article has pictures from the ST205 rear calipers, but the procedure is similar for front calipers
** The procedure is very different for ST165 and ST185 models which utilize completely different calipers **
Contents |
Disclaimer
This article is intended as a helpful guide and shows how I overhauled my rear calipers but it is equally applicable to the front calipers which use the same principles. If you are in any doubt, or not qualified, do not undertake this maintenance, consult a qualified mechanic. The brake system is a critical vehicle component, failure to change this in accordance with the relevant manufacturers and/or procedures and/or instructions can lead to severe damage or injury. The author or the GT4 Drivers Club can not be held responsible for any loss or damage resulting from use of this article.
Safety
When working on a car always use the appropriate safety equipment, chock the wheels to prevent the vehicle from moving. When working underneath a raised vehicle always use axle stands.
Parts
ST205 front caliper overhaul kit, 04479-20260 for the front calipers
ST205 rear caliper overhaul kit, 04479-20270 for the rear calipers
ST205 Piston, rear - 47731-20230 for individual rear pistons
ST205 Piston, front - 47731-14120 for individual front pistons
Note, you only need to replace damaged pistons so you should ascertain which ones you need in advance. In fact it's probably better to strip the calipers before ordering any parts. If it turns out that all of the pistons need replacing then it's not much more expensive to source new Budweg calipers from Brakes International
Procedure
| Jack car up and support on axle stands. Remove wheel(s) | |
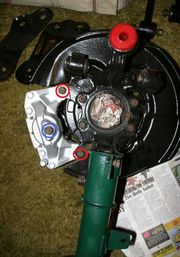
| Remove caliper securing bolts highlighted in red. On the rear these are 14mm. On the front these are 17mm. The calipers should be loose now but may still be "attached" to the disk. If so the pads can usually be pushed back in by rocking the caliper about on the disk | |
| Undo the brake hose banjo bolt, highlighted above in blue. This is 14mm Note, when you undo this brake fluid will come out of the pipe. Have a receptacle ready for this |
|
| The caliper should now be separate from the car | |
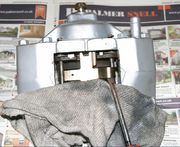
| Remove the anti clunk spring from the caliper. Do this by inserting a screwdriver under the humped and and prizing it off of the pin as shown | |
| Remove the clip securing the brake pad securing pins | |
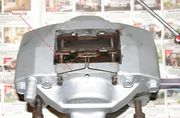
| Now comes the often hard part. The pad retaining pins need to be removed from the calipers. This varies in difficulty from trivial to immensely tedious depending on corrosion. If you are lucky simply pull the pins out of the calipers. |
|
|
|
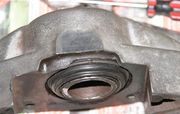
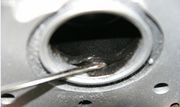
Remove the dust cover from the piston. Do this by gently prising it off with a flat blade screwdriver |
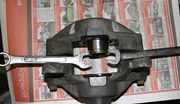
| Once the seals are off the pistons can be prised out of the caliper. There is no single way of doing this. I used two spanners to gently lever them out. Be prepared for a fair amount of brake fluid to pour out | |
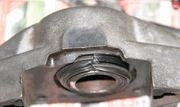
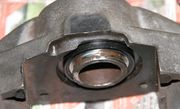
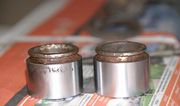
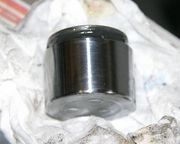
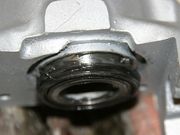
| Now is the time to inspect the old pistons. Note that slight rust in the top groove is acceptable (but should be treated before refitment) Any rust on the main body is unacceptable. The piston must be replaced! |
|
|
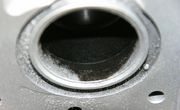
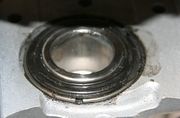
Now the calipers should be thoroughly cleaned using a good brake cleaner. Pay particular attention to cleaning out the holes where the pistons live. If corrosion is evident consider complete caliper replacement unless a scothbrite or orther very light abrasive removes it. You should also consider a careful inspection of the entire braking system as corrosion here indicates high water content in the brake fluid which may have caused issues in all the calipers, ABS unit and master cylinder |
|
| Once the caliper has been cleaned (and painted if you're going to) it's time to remove the seals Note. There is a reason to follow this sequence. If, like me, you're masking for paint is a bit shoddy there is a chance that paint can contaminate the seals. Replacing seals after this stage guarantees that the calipers are not rebuilt with contaminated seals. Any overspray should be carefully removed before rebuild though! |
|
| Prepare the new pistons for fitment. I smear the dust seal groove with a little high temp grease in a vain attempt to stave off rust. I also lube the body with fresh brake fluid Note that the body of the piston looks marked here. This is actually due to the coat of brake fluid that's been smeared on |
|
| It's now time to refit the piston. It should go into the caliper very easily then come up against the seal. At this stage make sure you keep the piston squareish gently rock it into the seal witl a little pressure. It should not need much and if it doesn't go easily take it out and make sure the seal is correctly seated all round. You do not want to nick a seal fitting the piston so be gentle | |
| Once the piston has cleared the seal push it about 2/3 of the way into the caliper. At this stage fit the dust cover Personally I also fill the dust cover with high temp grease too. |
|
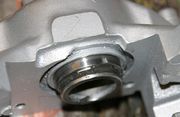
| Then fully push the piston back into the caliper. slide the dust seal over the shoulder on the caliper. Now comes the tricky bit... The cover is held in place with a large coil of spring wire. Getting this on can be annoying but it's not difficult. I fit them so that the join is at the bottom of the caliper (middle of the two mounting lubs) and find it easiest to try and get one side on then slowly work around the rest of the seal. Be careful not to damage the seal with the clip or whatever tool you use to fit it. Once it's on inspect the whole circumference of the cover to make sure the clip is correctly seated. It's very easy for the boot to slide out of one section while you're fitting another |
|
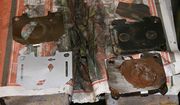
| Now it's time to prepare the pads for refitting. When you removed them you should have found that each pad had two additional metal shims between it and the piston. One shim should be a painted steel one and one should be a shiney stainless one Clean the pads and shims to remove any old grease. My painted steel pads were showing bad corrosion so I sanded them back to bare metal and refinished in VHT paint. I do not know how well this will last |
|
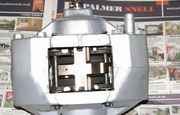
| Refit the pads into the caliper and re-insert the retaining pins. Refit the pin retaining clip Refit the large pad locating spring clip. The humped section should go towards the top of the caliper the same end as the bleed nipple |
|
| NOTE When refitting the calipers make sure that the bleed nipples are at the top of the caliper. Otherwise you will not be able to bleed the brakes correctly |
Other jobs to do at the same time?
- Replace brake discs & pads
- Replace springs and shocks
- Replace CV boots
- Under body seal the rear arch
- Fit rear trailing arm PU bushes
- Fit rear ARB PU bushes
